A few years ago, our clients' online checkouts were mostly cards and net banking. Today, on most Indian stores we look after, UPI is the single most popular payment method, often by a wide margin. If your checkout makes UPI awkward, you're losing sales.
Here's a practical overview of accepting payments on a website in India.
How payment gateways work
A payment gateway sits between your website and the banking system. When a customer pays, the gateway handles the payment securely, then tells your website whether it succeeded. You never store card details yourself, which keeps you out of a lot of security and compliance trouble.
Popular gateways in India include Razorpay, PayU, Cashfree, CCAvenue, Paytm, PhonePe and others. Most support UPI, cards, net banking, wallets and EMI options.
What it costs
Most gateways charge a percentage per transaction, typically around 2 percent for domestic cards and net banking, with GST on top of the fee. UPI pricing varies by provider and transaction type, and some gateways have offered lower or zero fees on certain UPI transactions. International cards cost more. Some gateways have setup fees or annual maintenance charges, many don't.
Always check:
- Fees for each payment method you'll offer
- Settlement time (how quickly money reaches your bank account)
- Refund charges
- Fees for international payments if you sell abroad
UPI options at checkout
There are a few ways UPI can work on a website:
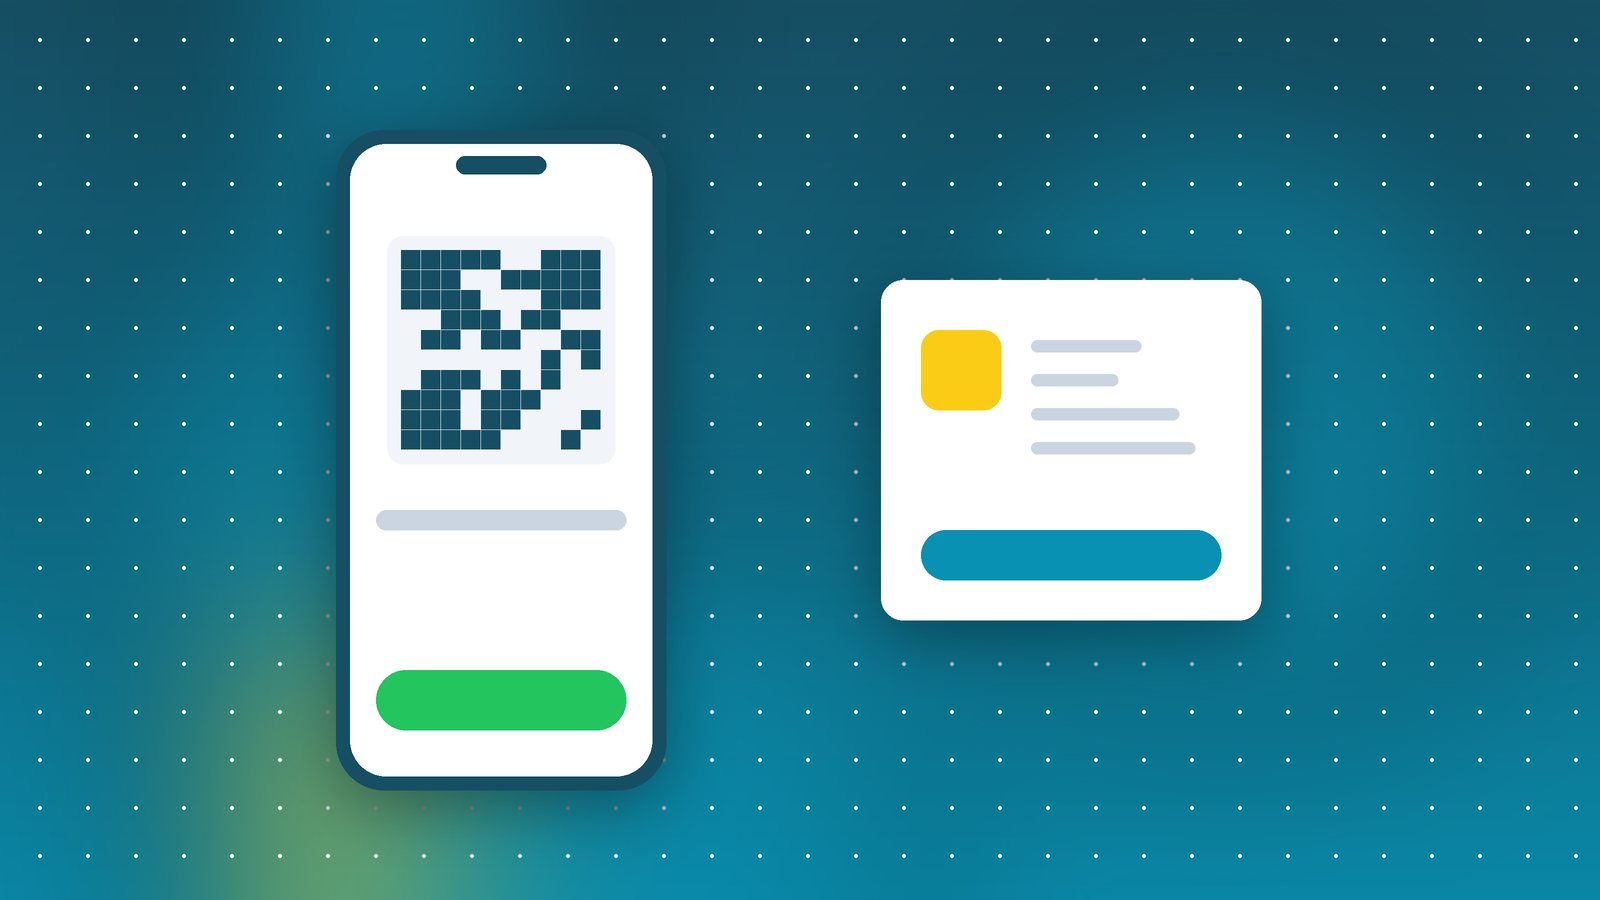
- UPI intent: On mobile, the customer taps "Pay with UPI" and picks their app (Google Pay, PhonePe, Paytm, BHIM). The app opens with the payment details filled in. This is the smoothest option on phones.
- QR code: On desktop, a QR code appears that the customer scans with their phone.
- UPI ID / collect request: The customer enters their UPI ID and approves a request in their app. Collect requests are being phased down in favour of intent and QR flows, so don't rely on them.
A good checkout detects whether the visitor is on mobile or desktop and shows the right option first.
What we check before integrating
- KYC and approval. Gateways need business documents and will review your website. Make sure your site has clear contact details, terms and conditions, a privacy policy, and refund and shipping policies. Missing policies are a common reason for delayed approval.
- Platform support. Is there an official, maintained plugin for your platform (WooCommerce, Shopify, custom PHP)? For custom builds, how good is the API documentation?
- Webhooks. The gateway should notify your server when a payment succeeds, even if the customer closes their browser before returning to your site. Relying only on the redirect back to your site means some paid orders will look unpaid.
- Test mode. Every flow tested in sandbox mode: success, failure, cancellation, refund, and a customer closing the window halfway.
- Reconciliation. Can you easily match gateway settlements to orders for your accounts team?
Security basics
- Never store full card numbers or CVVs. Let the gateway handle it.
- Verify payment status on your server using the gateway's API or signed webhooks, never just a URL parameter like
?status=success. - Use HTTPS everywhere.
- Restrict who has access to the gateway dashboard and API keys.
Don't forget the experience
Show prices including GST clearly, show the total before payment, and send a confirmation by email and ideally WhatsApp after payment. If a payment fails, tell the customer clearly and make it easy to retry with a different method. A confusing failed-payment screen is one of the most common reasons for abandoned orders we see.